I have so many grand plans of things to do... But I move so slowly I can't seem to get anything done all the way :(
The I keep on trucking though, because we really can't bring a baby into a house that isn't clean or a nursery that isn't fully decorated, right? Right.

Saturday, October 15, 2011
Saturday, October 8, 2011
Nursery Decor (part 1)
I really wanted to go with "no theme" (besides colors) in the nursery and I think I did a really good job of it.
I, of course, prefer lots of different themes and patterns and textures, and Keith likes plain, simple basic. So I think we struck a pretty good balance between the two-- its not "just stripes" or "just dots" but its also not PLAIDSTRIPEPAISLEYMORESTRIPEDOTSwhat.is.going.on?!
I won't post the whole nursery until all the walls are done (which I wanted to be this weekend, but thats totally not happening) but I will post the steps it took to come up with this:
 Step one (not pictured) paint canvasses. I used 12x12 Artists' Loft Canvas and Apple Barrel Paint (SO UPSET that Michael's stopped carrying CeramCoat :( ). I didn't mix paint because I knew this would take days and I wanted the colors to all be perfect.
I used a trim sized paint roller, but for the next one will just use sponge rollers I have.

Step two:
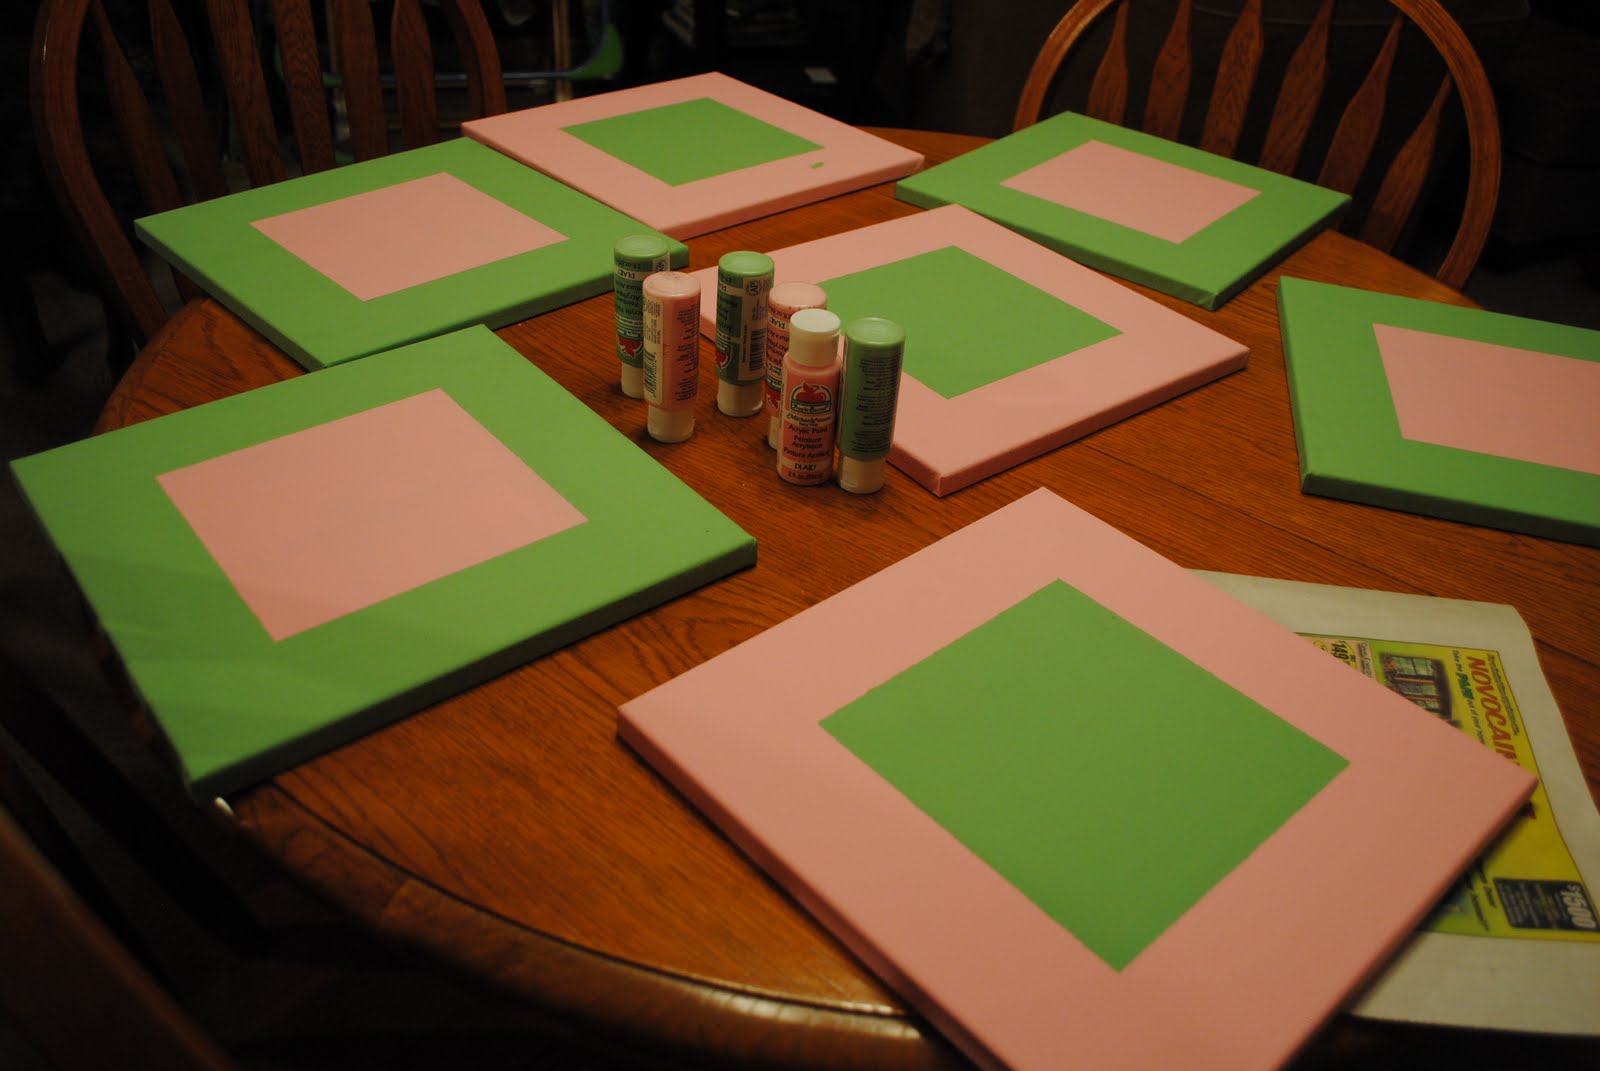
After paint is dry (and second coat if needed), measure and tape off squares. I did 7.5" squares, but cut out 6, 6.5, 7, and 7.5" squares from pieces of paper trying to decide what size I liked best.

Step three:
Paint over squares, being careful not to get too excited and paint over the tape (like I totally did). I used sponge rollers to get the most even coverage. Let dry for a short-ish time (like 1/2 an hour maybe?) and do a second coat. Even if it doesn't look like you need one-- I swear you do.


Step four:
When paint is dry (3-4 hours to get both coats set) remove the tape. There may be tiny imperfections, but I don't mind those.
Check over canvasses to make sure they look how you want (no touchups needed on inside or outside squares, no cat prints like I have on the top pink one, etc)

Step five:
Paint inside your squares. I freehanded the letters and ended up having to completely re-do the "a" and I'm not in love with the "e" but overall I am happy with how they turned out.

Three day project (for me anyway!) but I got a whole wall done for the same price I paid for ONE picture for the other wall. I think I did okay :)
To hang, I just measured the whole wall, decided how much space I wanted between the letters (3 inches), subtracted 102 (3"x6 spaces and 7x12" canvasses), divided the difference by two (for the space on either end) and started marking! I used a pencil and a 4 ft ruler/level and it seemed to work great!
I, of course, prefer lots of different themes and patterns and textures, and Keith likes plain, simple basic. So I think we struck a pretty good balance between the two-- its not "just stripes" or "just dots" but its also not PLAIDSTRIPEPAISLEYMORESTRIPEDOTSwhat.is.going.on?!
I won't post the whole nursery until all the walls are done (which I wanted to be this weekend, but thats totally not happening) but I will post the steps it took to come up with this:

I used a trim sized paint roller, but for the next one will just use sponge rollers I have.

Step two:
After paint is dry (and second coat if needed), measure and tape off squares. I did 7.5" squares, but cut out 6, 6.5, 7, and 7.5" squares from pieces of paper trying to decide what size I liked best.

Step three:
Paint over squares, being careful not to get too excited and paint over the tape (like I totally did). I used sponge rollers to get the most even coverage. Let dry for a short-ish time (like 1/2 an hour maybe?) and do a second coat. Even if it doesn't look like you need one-- I swear you do.


Step four:
When paint is dry (3-4 hours to get both coats set) remove the tape. There may be tiny imperfections, but I don't mind those.
Check over canvasses to make sure they look how you want (no touchups needed on inside or outside squares, no cat prints like I have on the top pink one, etc)
Step five:
Paint inside your squares. I freehanded the letters and ended up having to completely re-do the "a" and I'm not in love with the "e" but overall I am happy with how they turned out.

Three day project (for me anyway!) but I got a whole wall done for the same price I paid for ONE picture for the other wall. I think I did okay :)
To hang, I just measured the whole wall, decided how much space I wanted between the letters (3 inches), subtracted 102 (3"x6 spaces and 7x12" canvasses), divided the difference by two (for the space on either end) and started marking! I used a pencil and a 4 ft ruler/level and it seemed to work great!
Subscribe to:
Posts (Atom)